How to Extract the Original PNG Tile from a .PAT File in Photoshop
Most people don't realize Photoshop quietly stores the original tile dimensions inside every .PAT file. You don't need to guess the repeat size or run any third-party extractor — the data is already there, one hover away.
Here's how to get it out cleanly.
Step 1: Import the .PAT file into the Patterns panel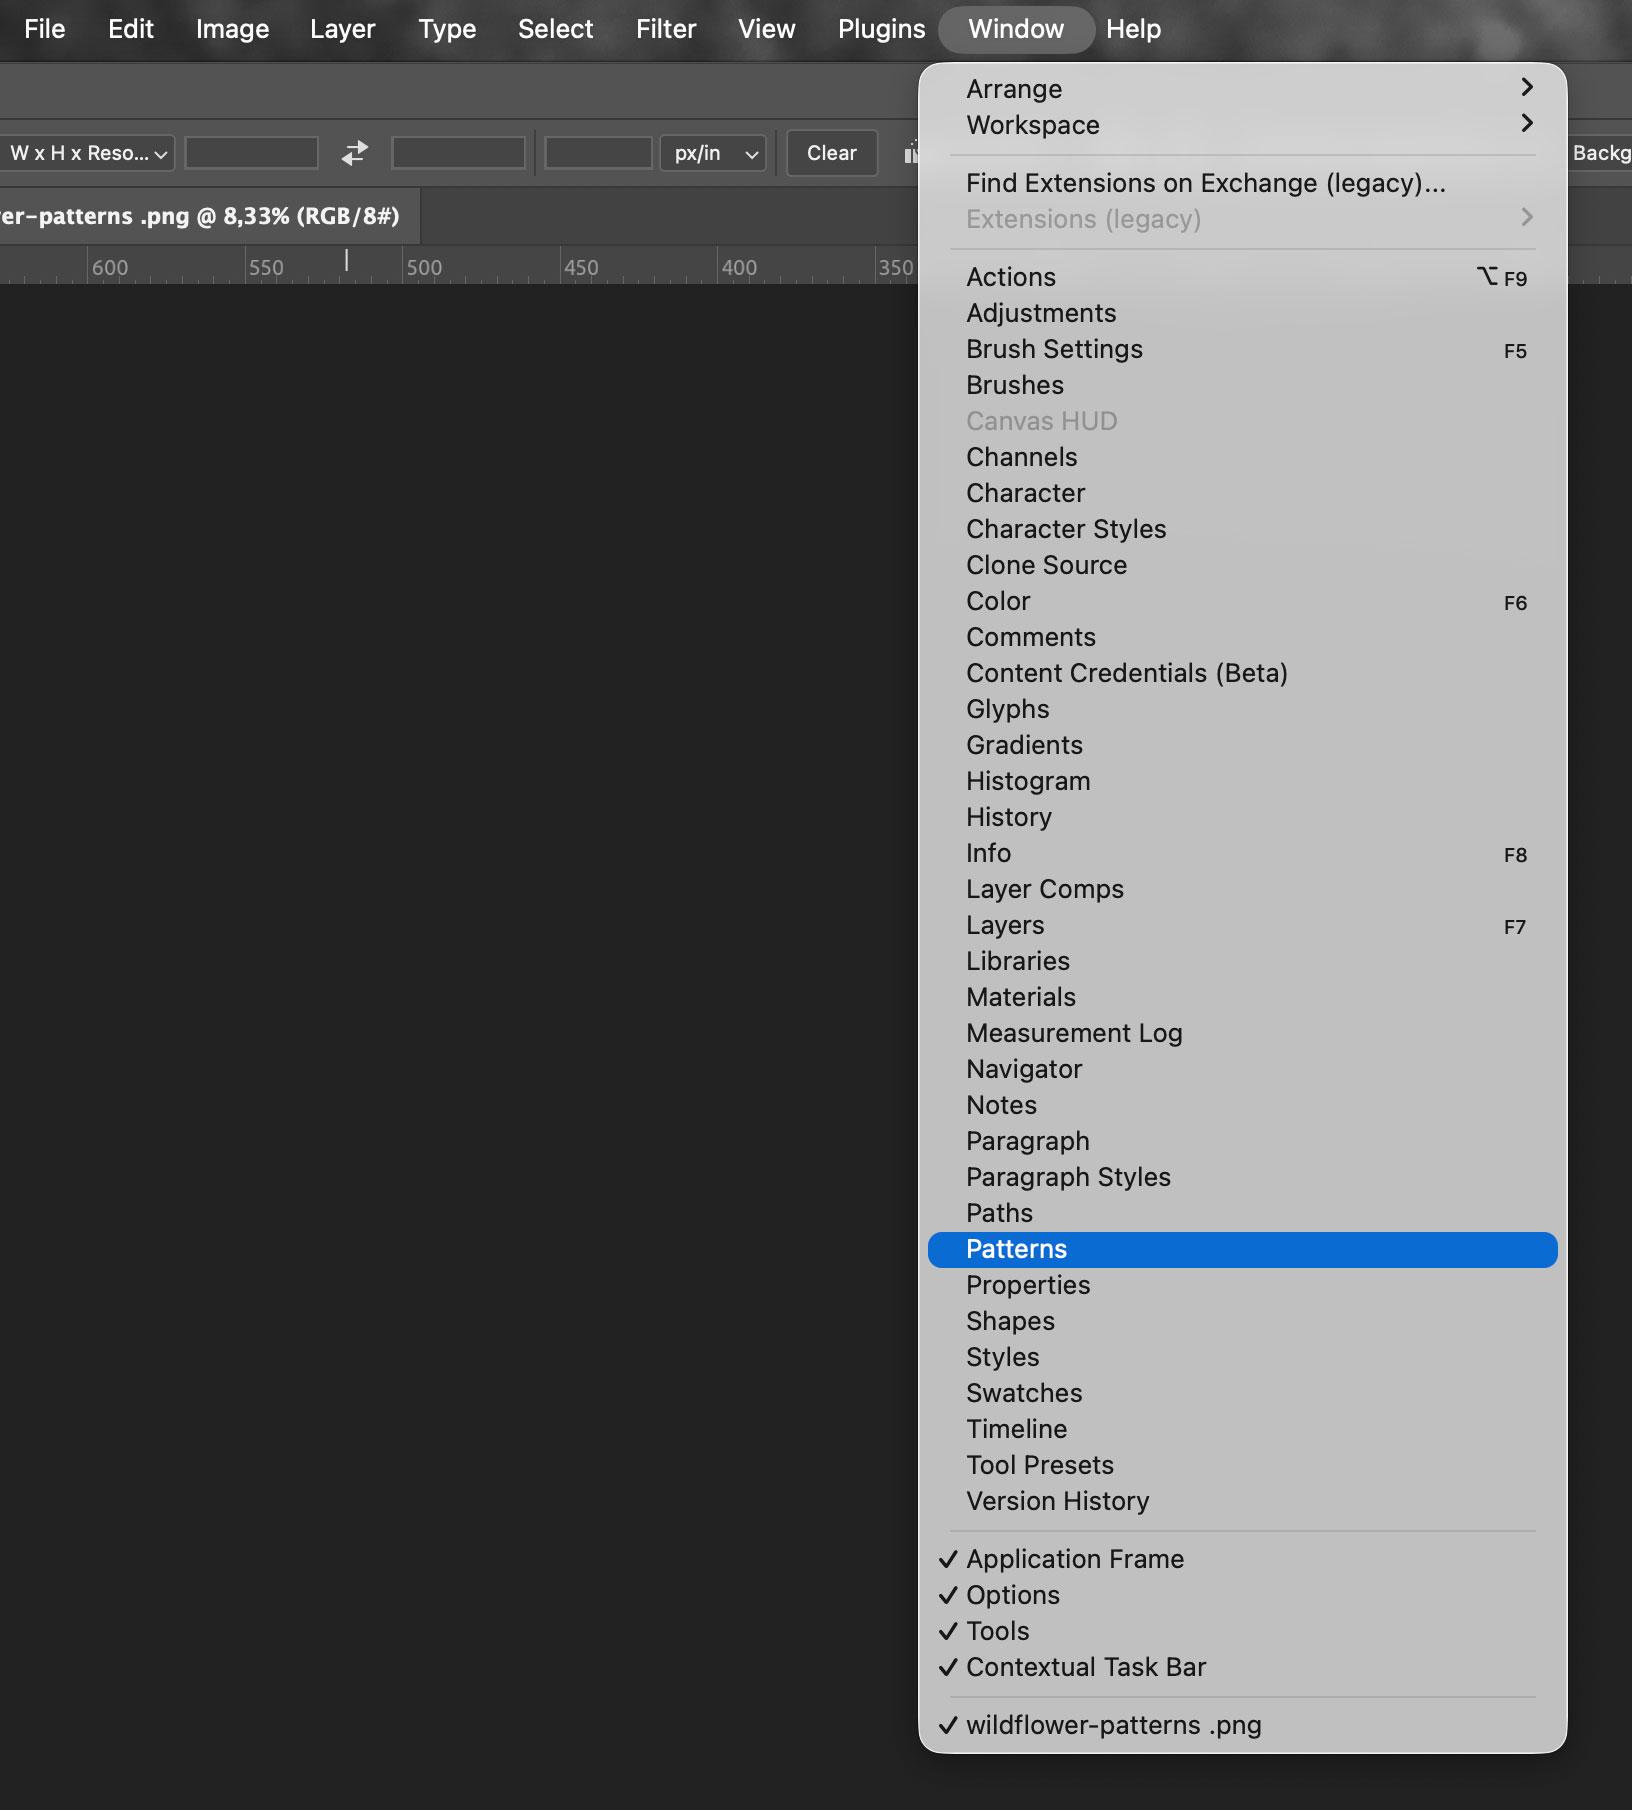
Open Photoshop and go to Window → Patterns. Use the panel menu (the hamburger icon) to import your .PAT file.
Step 2: Find the original tile dimensions
Hover over the pattern thumbnail in the panel and wait a second. A tooltip appears showing:
- the pattern name
- the original tile dimensions (this is what you need)
- color mode
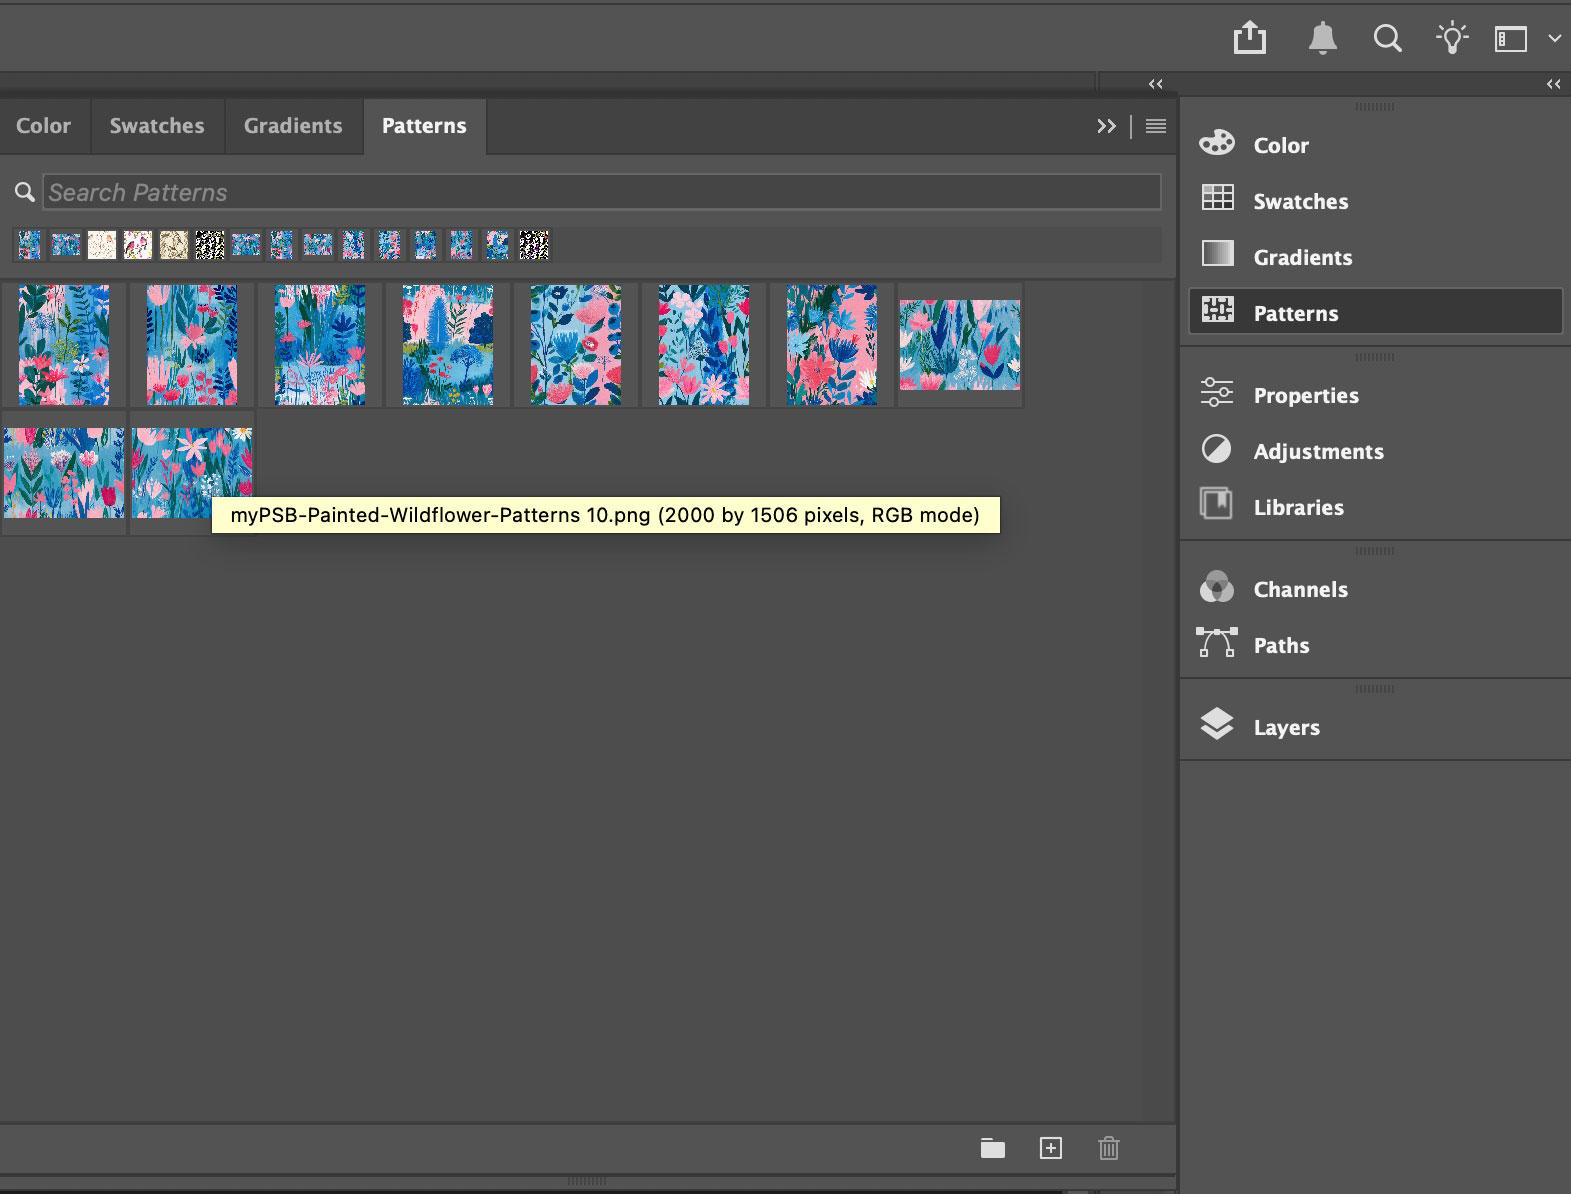
That's the key. Photoshop stores the source tile size in the file metadata and exposes it right there on hover — no guesswork required.
Step 3: Recreate the tile as a PNG
- Create a new document using the exact dimensions from the tooltip.
- Fill it with the pattern: Edit → Fill → Pattern, select your pattern, hit OK.
- Export: File → Export → Save for Web, choose PNG-24.
That's your original seamless tile, extracted cleanly.
Optional: reduce file size
If you want a smaller file without visible quality loss, run the PNG through software like ImageOptim. This is especially worth it for large repeating tiles that end up in web projects.
This workflow comes up more than you'd think — when you need to convert old Photoshop patterns into reusable PNG files, prepare tiles for Procreate or Affinity, or adapt assets for laser cutting, digital paper packs, or CSS backgrounds. If you're looking for .PAT files to work with, there are over 200 free Photoshop pattern packs on this site ready to download.
The tooltip trick also works as a quick sanity check when you're going through a larger library — useful for knowing tile dimensions before you commit to opening a new document.